DSD Planning(5 Steps)

The DSD process follows a specific flow and consist of 5 steps. We first take photos to capture your current situation and then to transfer these to the 2D and 3D designing steps. After the designing we transfer the prototype over to your mouth so you can 'test-drive' your new smile. The final step is the fitting appointment and whoolah! Your new designed smile is finished!
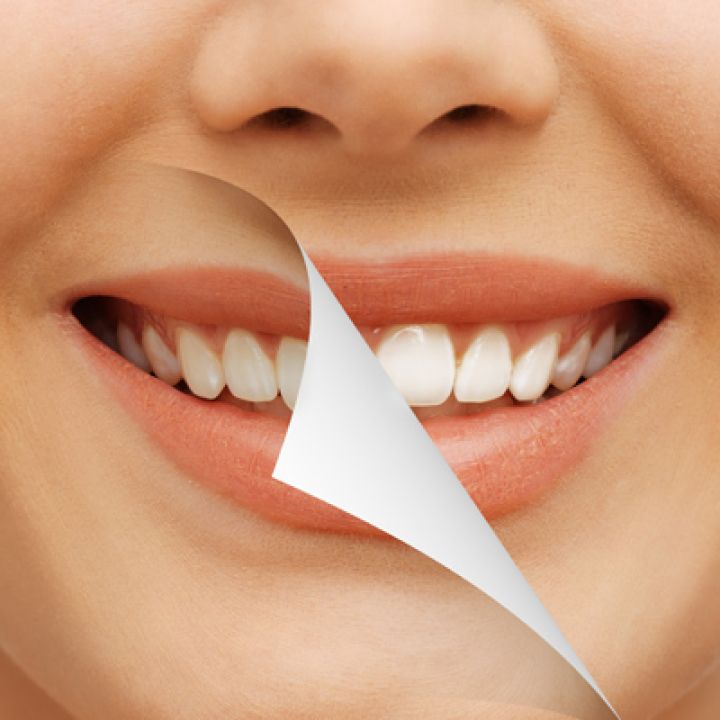
STEP1: Digital Photography
The first step is to take photos of your smile to show us the real you and how your personality and smile come together. This provides valuable information about your gums, lips and eyes and takes the whole face into consideration. The following are some photo shots that provide valuable information:
- Full frontal relaxed smile
- Full frontal wide smile (say 'eeee')
- Full frontal smile with lips retracted
- Intra oral photos

After the photo session we will also take dental impressions to make study models for further planning.
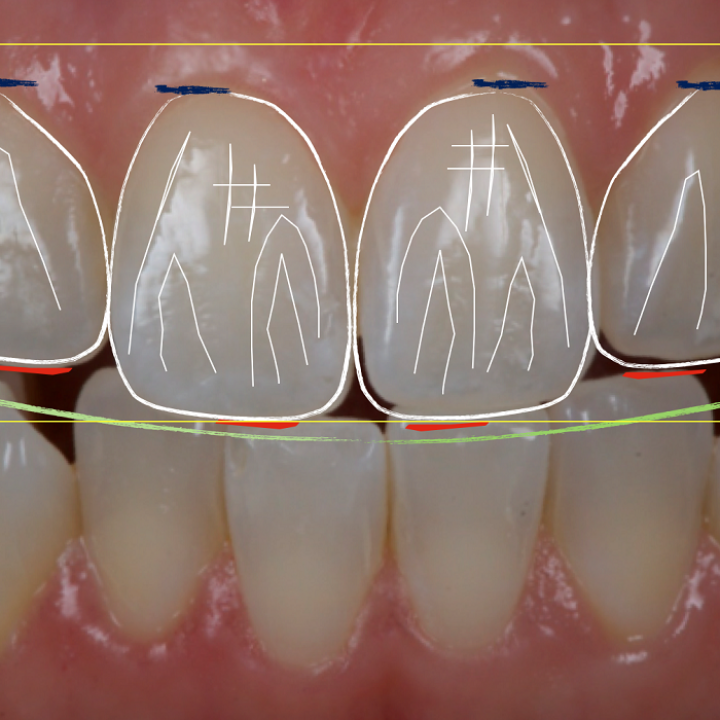
STEP 2: 2D and 3D Planning
The next step is to use specific software programs to design(2D) your new smile and to help us to determine the new length, width and size of your new teeth. This step takes the whole face in consideration and thus making this a truly facial driven protocol. Previously designing methods were only looking at the smile in isolation and many other factors like midline, gum position and tooth length were left out of the planning phase that often lead to mediocre results.
STEP 3: The Wax Up
The 2D design is now transfered to a 3D design called the wax up or 3D model. The wax up is literally a wax material that is build up by hand on a plaster model according to the specifications as directed by the 2D design. This wax up model can now be scanned with our cerec software to represent the final 3D model.
STEP4: The Prototype (try -in)
This is the exciting part where you now have the opportunity to 'test-drive' your new smile! The final set up is transfered to your mouth with a temporary material that can easily be removed. This gives you and me the opportunity to see what it will looks like and if any changes need to be made. This prototype is left in place until the final step.

STEP 5: Final Fit
If we are all happy to proceed with the final step the prototype is removed and the teeth prepared. With our cerec 3D software the porcelain work can be made in our office and fitted in the same procedure! Your new smile now becomes part of you.
See the following video that explains the whole process:


Featured
Cosmetic Dentistry Cape Town
At Myteeth our main focus is on the Aesthetic and Cosmetic aspect of your...

Smile Analysis- Identify problem areas
Kindly check your smile in a close-up mirror. With our unique...

Closing Gaps with Composite
Another useful application is the closure of gaps (diastemas) between...
Related

What is DSD
When your dentist makes you a new dental crown, dental veneer...
Design your Smile
What Type Of Smile Suits You?When more than 1 front tooth need...
